
Claris Connect is a cutting-edge integration platform designed to streamline and automate workflows for businesses of all sizes. Claris Connect empowers organizations to connect various applications, services, and data sources, enabling seamless data flow and task automation.
With its intuitive visual interface and user-friendly design, Claris Connect eliminates the need for complex coding, allowing non-technical users to create custom integrations and automate processes. Claris Connect enhances operational efficiency, reduces manual tasks, and accelerates decision-making by facilitating real-time communication between disparate software systems.
Key features of Claris Connect include:
- Drag-and-Drop Interface: Claris Connect’s visual interface allows users to create integrations effortlessly by dragging and dropping components and defining triggers, actions, and data transformations.
- Pre-Built Connectors: The platform offers a wide range of pre-built connectors for popular applications and services, such as CRM software, email platforms, e-commerce solutions, and more, enabling rapid integration without extensive development.
- Custom Workflows: Users can design complex workflows tailored to their unique business needs, combining multiple triggers and actions to automate processes like data synchronization, notifications, and task assignments.
- Real-time Monitoring: Claris Connect provides real-time monitoring and reporting of integrated processes, allowing users to track the status of data transfers, identify bottlenecks, and optimize workflows for maximum efficiency.
- Security and Compliance: Built with robust security features, Claris Connect ensures the protection of sensitive data during integration, adhering to industry compliance standards and data privacy regulations.
- Scalability: As businesses grow, Claris Connect scales effortlessly, accommodating increasing data volumes, complex integrations, and evolving business requirements.
Custom Connectors
While many pre-built connectors are available, if you need to integrate with a very specific or less common application, a pre-built connector might not be available. And even if a connector is available, it may not include a feature that you need. Until now, a developer wishing to push beyond the capabilities of the pre-built connectors would be looking at a direct API integration and all of the complexity that this type of custom development entails.
With the release of Claris Connect custom connectors, we now have a new tool in our toolbox. If the application you want to interact with has an API, you can now create a custom connector.
TLDR: Quickstart!
Creating a custom connector is one of those things that’s far harder to explain than it is to do. While we have a step-by-step guide with all the gory details below, here’s the TLDR version:
- Login to Claris Connect at https://connect.claris.com
- From the Custom Connectors tab, create a new connector.
- Select a preconfigured template from the dropdown.
- Test and publish your custom connector.
- Use your new connector in a Claris Connect flow.
That’s it! Now granted, we just used a pre-configured template and that’s hardly the point of a custom connector. The point is that this isn’t really that hard if you’re already familiar with Claris Connect and building custom workflows.
Getting Started
It’s probably best to get started with one of the pre-defined templates. In my initial testing, I chose the OpenAI template because I already have experience with the OpenAI API, have a developer account configured, and an API key. This custom connector template includes the /completions and /edits endpoints which is enough to get started.
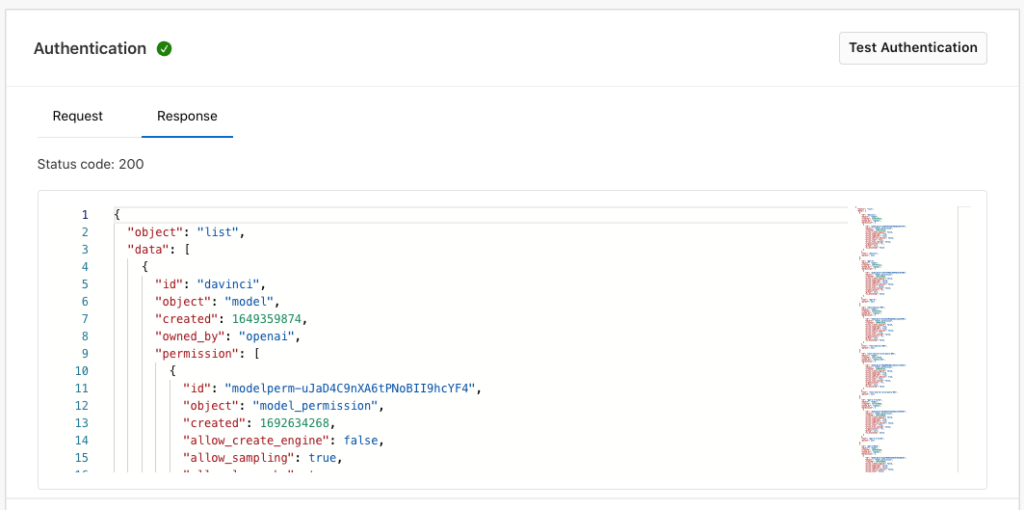
From the new Custom Connectors tab in Claris Connect, create a new custom connector, and select the OpenAI template. In the lower right corner, select “Save & Test”. You’ll be directed to the Debugger tab where you can test your connector. Click the “Test Authentication” button and enter your API key (see OpenAI for details about setting up an account and getting an API key). You should get some type of “Status code: 200” response.
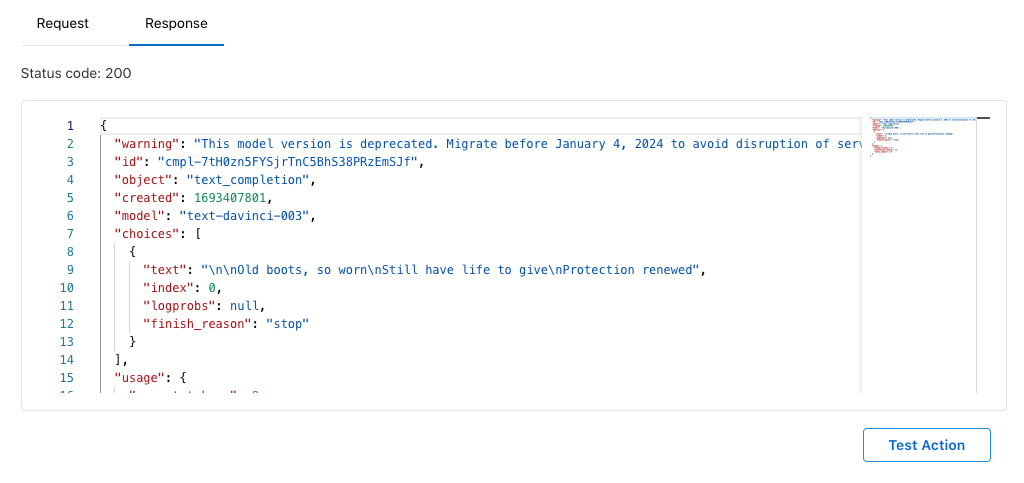
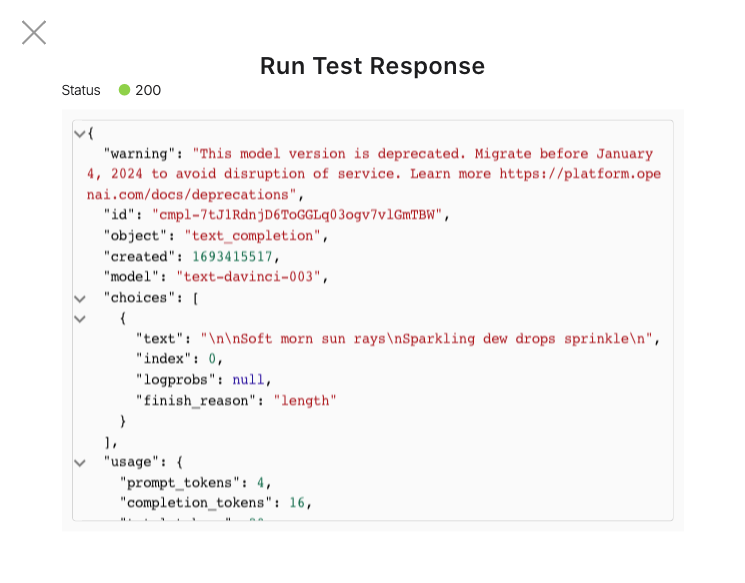
You can also test your endpoints from the debugger; we have two of them in this example: “Create a completion” and “Create an edit.” Let’s test the completion endpoint. Enter a model (I used text-davinci-003, which is one of the models supported by the /completions endpoint), a prompt (e.g. “write a haiku”), and select “Test Action.” You should get a response that looks something like this:
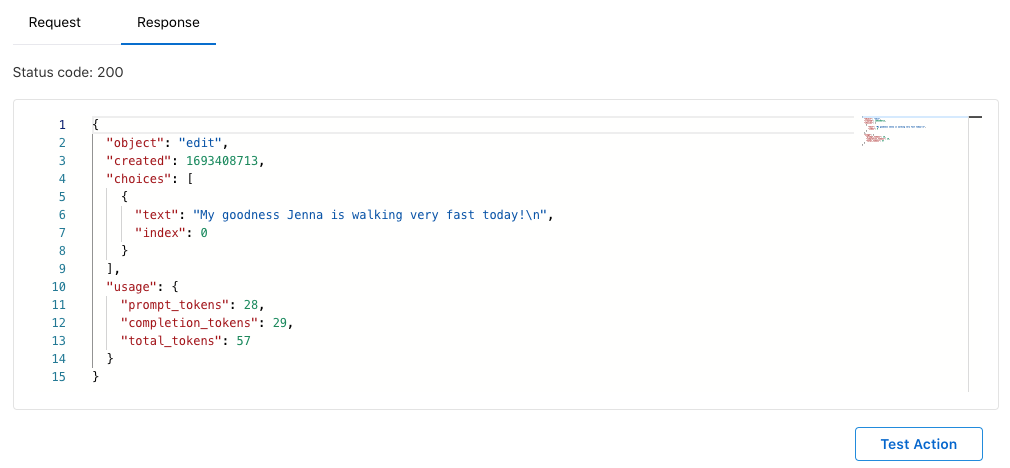
Testing the /edits endpoint is easy enough. Enter a compatible model, (e.g. text-davinci-edit-001), an instruction, and an input, and run the “Test Action” process. I asked the model to fix the punctuation and capitalization of the text “my goodness jenna is walking very fast today” and received the following response:
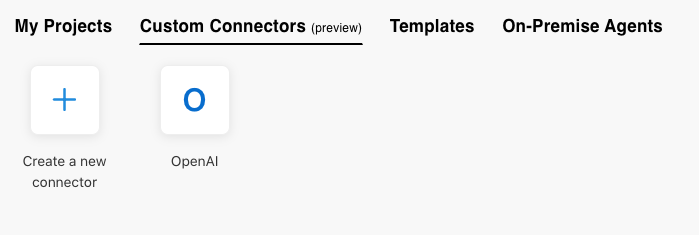
Once you get a successful test for auth and your two endpoints, you can publish your custom connector and it will appear in the list of Custom Connectors:
Using a Custom Connector
Once you have published your custom connector, you can use it in a flow. Note that custom connectors can only be actions, so you’ll need to choose a trigger from the available standard triggers. Since we’re just testing here, I chose the Schedules trigger and configured it to run every hour. We won’t activate our flow in this example, so the trigger doesn’t matter much. Now add an action and choose your new connector from the available Custom Connectors.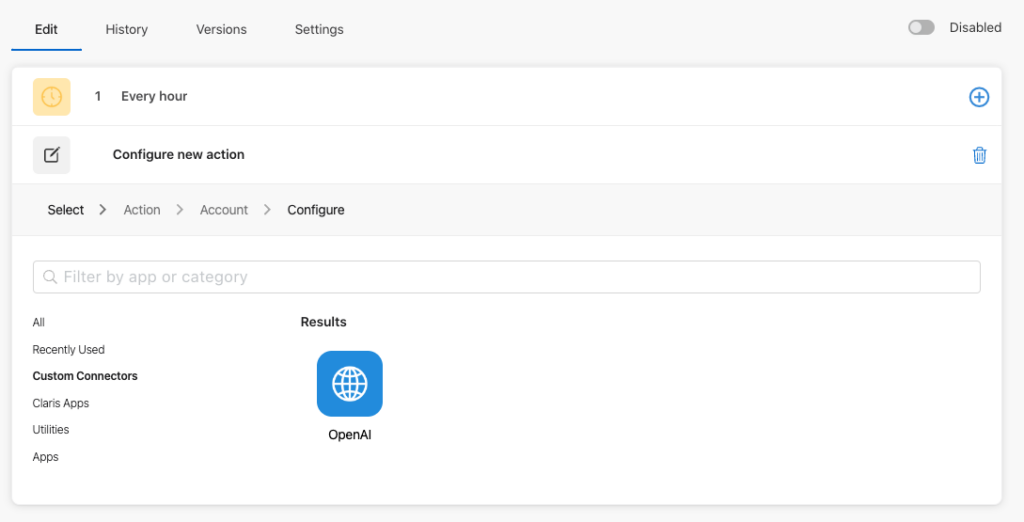
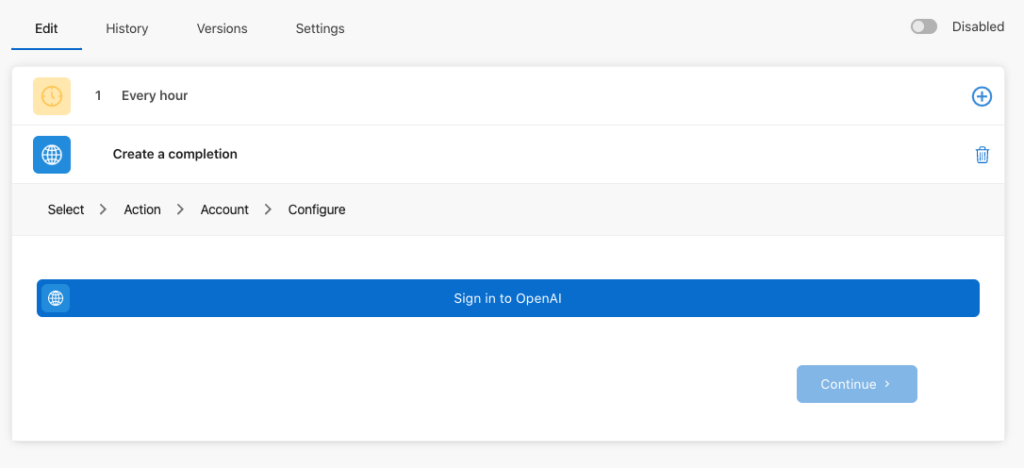
Choose among the available endpoints (I chose the Completions endpoint) and “Sign in to OpenAI”.
Enter your API key and submit, you should get a success message: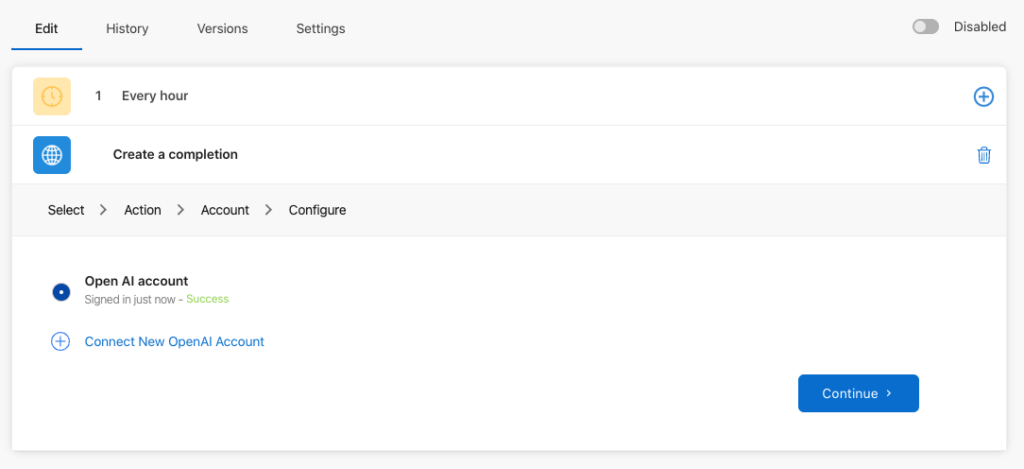
Select “Continue”, and you’ll be directed to the endpoint options. In this trivial example, we’ll use the same form data that we did above when testing our connector. We’ll use the “text-davinci-003” model, and our prompt will be “write a short poem”. As before, you’ll get a response indicating whether or not your request was successful:
If you get any “Status 200” response, you’re good to go, and your flow is ready. If this were a real flow, we would probably add an action after this step to extract the data at choices.text and do something with it, like create or update a record in a FileMaker system.
What’s Next
We’re very excited to start building our custom connectors to extend existing connectors’ capabilities and create new ones from scratch. For example, I’ve got a project that uses the Mailparser connector, and the existing connector doesn’t handle attachments particularly well. With a custom connector, we should be able to tailor-make a connector that performs just as we need for our application.
Ready to take the plunge? Dive into the world of Claris Connector now and get started for free! Your next level of connectivity awaits.
Subscribe to get the latest in your inbox.

Built with you in mind
Speak to one of our expert consultants about making sense of your data today. During
this free consultation, we'll address your questions, learn more about your business, and
make some immediate recommendations.