
This post is part of a multi-part series that focuses on specific examples of how to connect Claris FileMaker to Slack. This article will make more sense if you have read our introduction, and we invite you to dive into the whole series:
Slack FileMaker Integration Overview
FileMaker + Slack: A Claris Connect Integration
FileMaker + Slack: A Simple API Integration
FileMaker + Slack: Putting It All Together
Assumptions
We expect that you have at least a passing knowledge of Claris FileMaker and Slack. If you could use refreshers, please visit www.claris.com/filemaker and slack.com.
Claris Connect may need some introduction; if required, you can catch up by reviewing some of our previous blog posts Claris Connect Engine and All About Claris Connect.
In a nutshell, Claris Connect is a workflow automation tool. It comes with several built-in templates to help you tie together (integrate) various tools, systems, and solutions you use daily to run your business. For example, you can connect apps like HubSpot, Mailchimp, Outlook, and QuickBooks to FileMaker or to each other (for a full list of supported apps go to Claris Connect App Directory ).
This article will look at how you can use Claris Connect to make posts from your FileMaker solution to Slack.
Who needs this?
If you are a seasoned FileMaker developer with complex needs, go ahead and jump to our third and fourth posts that get more technical and connect directly via the Slack API.
If your job title doesn’t include ‘developer,’ this post is for you.
One of the things we love at Codence about FileMaker is how easy it is to pick up and use for the non-developer crowd. This is part of the secret sauce that makes FileMaker the ideal low code platform for thousands of companies.
In the same way that FileMaker brings custom software within reach, Claris Connect does the heavy lifting of making API connections to dozens of apps. Making the appropriate connections is almost ‘drag and drop’ easy.
Let’s get started
Gather the ingredients
Let’s make sure you have all the pieces to make the connection as simple as possible.
- You are going to need a Claris Connect account. You can start a free trial here (15 days).
- You’ll need the domain of your FileMaker Server. Just as when you first connect to a new FileMaker App in the host dialog. And if it isn’t apparent by now, your solution will need to be hosted.
- You’ll want to get the name of your FileMaker solution (i.e., the file name).
- Make sure you have the login credentials for your solution.
a. We’re only interested in the login info for the solution, not for the FileMaker Server Admin console.
Putting it all together
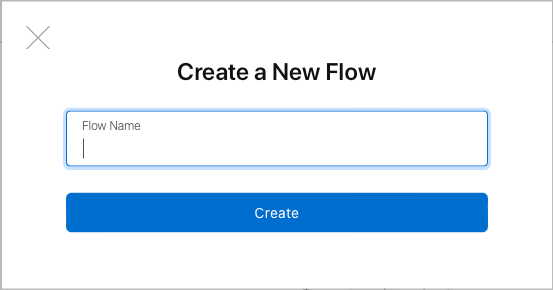
Once you’ve got your Claris account set up with a Claris Connect license, navigate to connect.claris.com and create a new project. Give your project a name and then create a new flow (and give it a name) in your project.
In Claris Connect a project is an organizing container for your flows. You work with projects on the Claris Connect homepage, where you create projects and use a project’s options menu to edit, rename, or delete a project.
After you sign in to Claris Connect, the homepage shows any existing projects. If you don’t have any projects yet, you are prompted to create your first one.
Claris Connect is built on the concept of flows, used to automate everyday business tasks and processes.
Flows are automations that use two or more components. A component can be a Claris Connect utility or a connector to a third-party application (“app”).
For more about the terminology and concept of Claris Connect please review their help documentation.
The name of the flow is up to you. We chose something simple like “FM to Slack” for this example.
Since our flow will be initiated by a FileMaker script, the first step is to configure FileMaker as the trigger for this flow.
In your flow configuration, search for the Claris FileMaker Server or Claris FileMaker Cloud trigger depending on whether your custom app is hosted on Server or Cloud.
You’ll see FileMaker Server On-Premise as a grayed out option. An On-Premise server can receive actions from Claris Connect (thus it is in the list), but cannot be the trigger for a flow (thus it is grayed out).

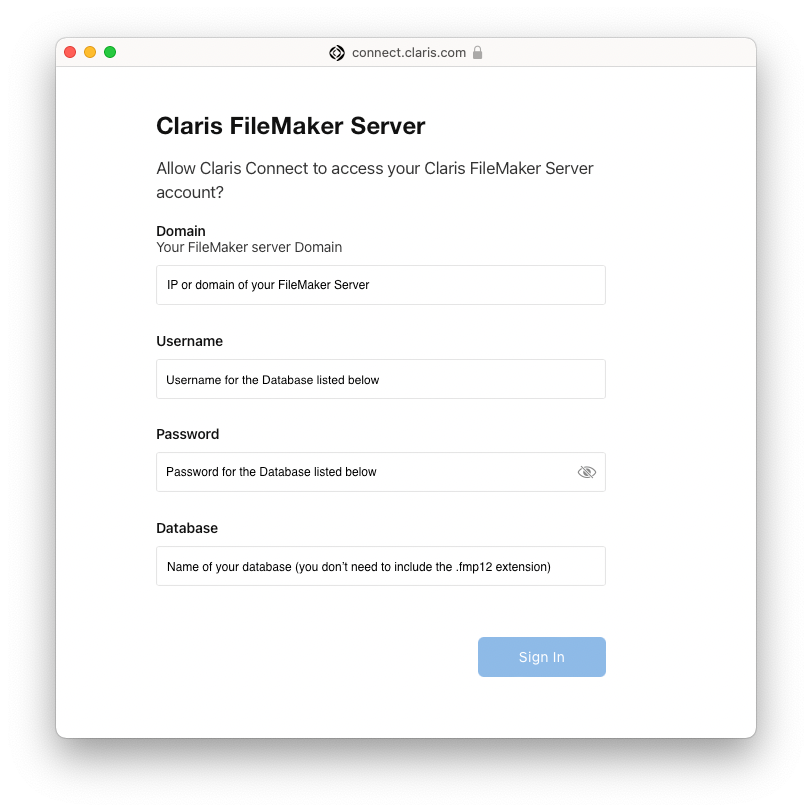
When you select this trigger, you’ll be prompted to authenticate to your file. Enter your server’s domain name or IP address, enter the account name and password that you use to access your custom FileMaker application, and, third, enter the name of your FileMaker file.
In the next step, follow the instructions in your Claris Connect flow “Configure” panel. According to the instructions, you need to create a simple script in your Claris FileMaker custom app.
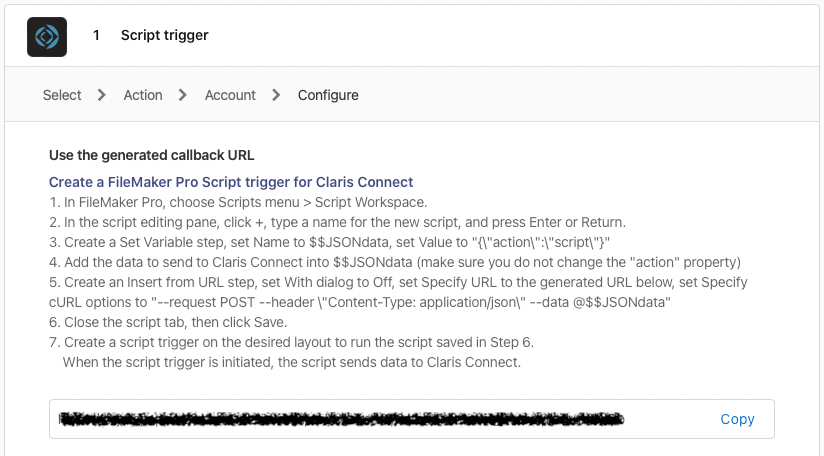
Success! You have a URL and some instructions! … But hold on just a second. If you are a developer (seriously go to our third and fourth posts), it is easy to get ahead of ourselves, jump past these instructions, go to FileMaker, and start working on our script. Before we can use this link in our FileMaker solution we need to activate and save it in Claris Connect.
The activation process is pretty straightforward. All we really have to do is follow steps 1 through 7 in the instructions. Our recommendation is to follow these steps exactly. Here is the test script we created: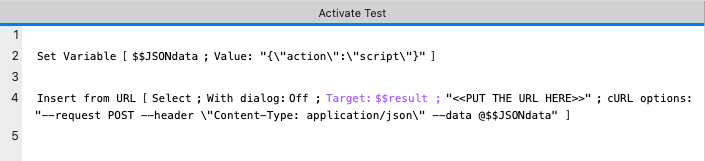
Then run the FileMaker script and the trigger will be “activated” in Claris Connect (the browser page will be updated automatically).
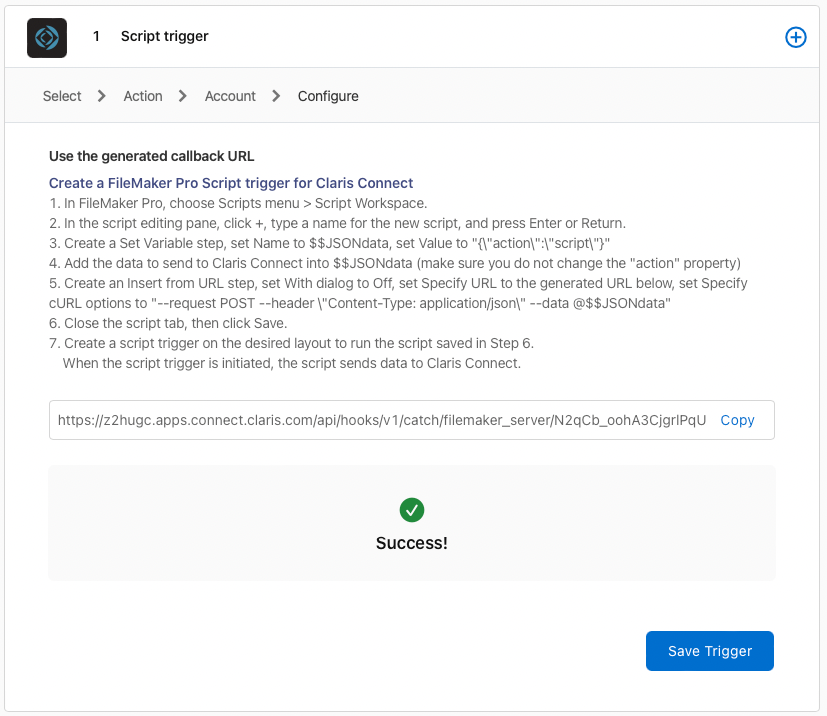
Click the Save Trigger button.
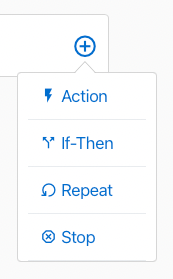
The next step is going to be to add the Action step of sending the message to Slack. Click the plus button next to the trigger you just created, then choose Action.
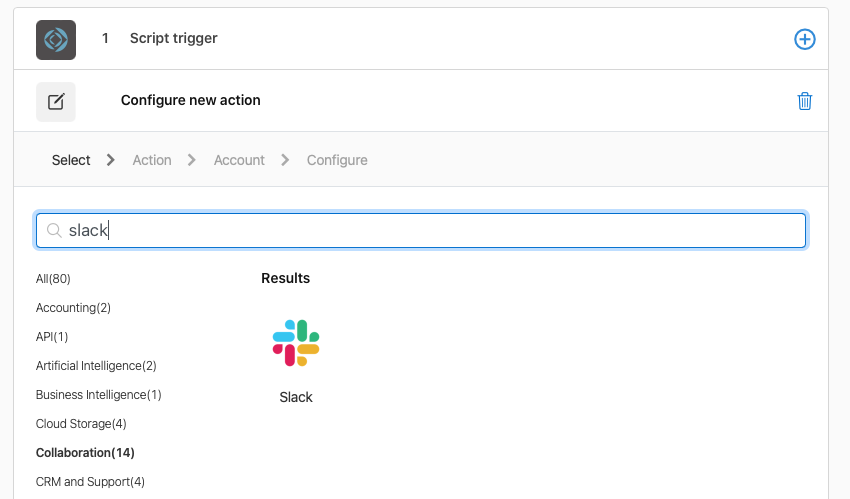
Search for and choose Slack from the list of actions.
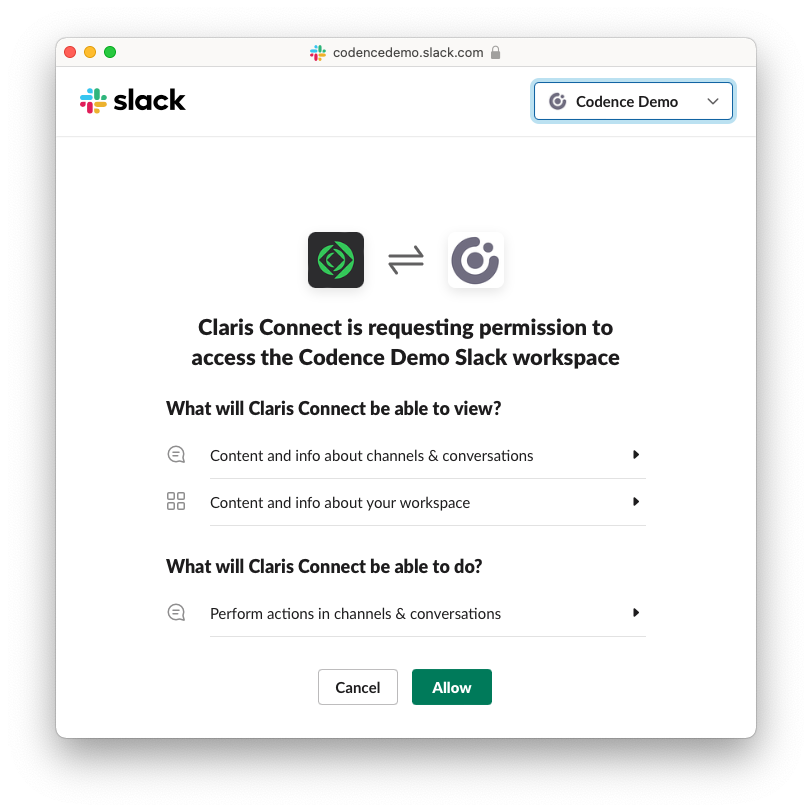
You’ll be prompted to sign in to Slack. Once authenticated choose the appropriate Slack workspace from the drop-down in the upper right corner and then click the “Allow” button to grant Claris Connect the permission it needs to post messages to Slack.
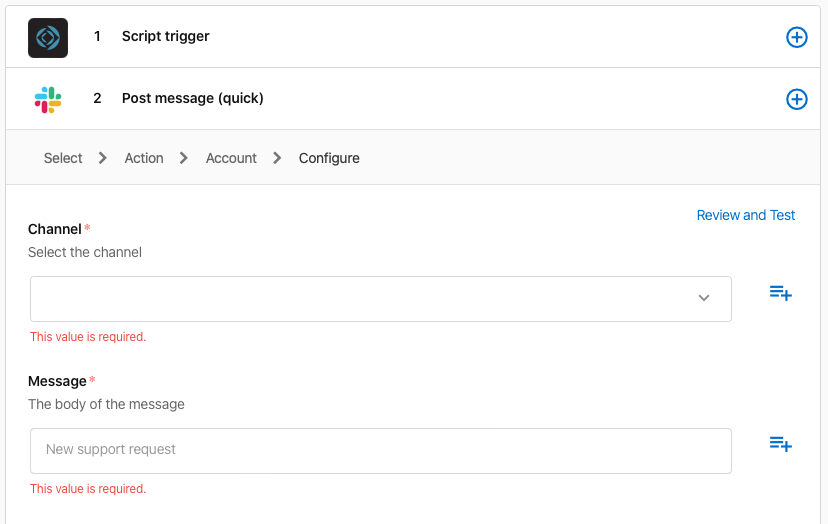
The next step is to configure the Slack action with some additional parameters. There are three pieces of the slack message that need to be configured.
The required pieces are the channel and the message. The channel field will allow you to select from a drop-down of your public channels. There is an option to “Type a custom value” which is how you can post a message to a private Slack channel.
Before you can post to a private Slack channel you’ll have to add Claris Connect to the channel. This can be kind of tricky. Reach out to us if you get stuck here, we’d be happy to help
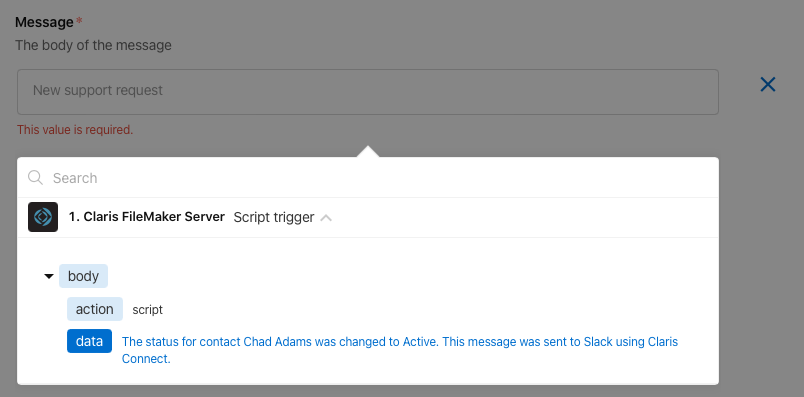
The message is the part that we are getting from FileMaker. The way you pass information from one step of the flow to a field is to use the plus icon to the right of the field. Clicking the plus button to the right of the Message field will allow you to select the data from the FileMaker Trigger step.
The last field is optional but makes for a nice touch. You can add an icon for the slack message which will show where the user’s profile picture typically shows in slack messages. We’ve chosen to go with the Claris Connect logo which can be found here.
Click the Save button and your Claris Connect flow is ready to use.
FileMaker Demo
The process of setting up your FileMaker solution is pretty straightforward. The demo file that goes along with this series has an easy-to-follow script that shows the process. There are a few things to keep in mind when setting up your script.
- You will use the Insert from URL script step to call the webhook URL we set up earlier (see the screenshot above).
- You will pass data to that URL through the cURL option. If you are not familiar with FileMaker’s cURL syntax it can be confusing. Thankfully the screenshots above give us the exact syntax to use, which is: “–request POST –header “Content-Type: application/json” –data @$$JSONdata”
- The last part of that string is @$$JSONdata. This piece will automatically grab the contents of the $$JSONdata variable.
It is clear from the screenshots that the variable needs to contain “{\”action\”:\”script\”}”
It is less clear how you pass the message to be posted. In order to pass the message to the URL, you will add it to the JSON using a data tag. The contents of the $$JSONdata variable should look like this.

Next Steps – Connect Everything!
When learning a new technology (or figuring out how to do something in a familiar one), start with a proof of concept. We hope these posts help to that end. We’ll admit at first blush, Claris Connect can appear deceptively simple. As you spend time with it, you’ll discover real depth under the hood.
Its real strength sits in the realization that people don’t live in one application anymore. Doing work these days often includes many different tools and technologies. Claris Connect aims to make it a simple process to get different apps talking to each other and helping users move among all their tools to get work done.
We hope this series encourages you to explore the possibilities of Claris Connect, Slack, and FileMaker. Please don’t hesitate to let us know how you are using these tools in your daily activities.

Built with you in mind
Speak to one of our expert consultants about making sense of your data today. During
this free consultation, we'll address your questions, learn more about your business, and
make some immediate recommendations.